


Basic Networks:
IPv4 is connectless protocol that use multi packet routing to break data into smaller blocks to send across the internet. IPv4 is a series of of four eight-bit-binary numbers separated by a decimal point.
IPv4 has a different type of classes:
Class B - Address range [128 to 191] - Subnetmasking [255.255.0.0] - Used for medium size network
Class C - Address range [192 to 223] - Subnetmasking [255.255.255.0] - Used for local area network
Class D - Address range [224 to 239] - NA - Reserve for multi tasking
Class E - Address range [240 to 254] - NA - This is class is reserved for research and development purpose.
Creating the VPC network:
Login into AWS console and navigate into VPC.
1)
Select the VPC only option.

We will get a more network option while selecting the VPC
and more option. It will display the availability zone along with network CIDR.
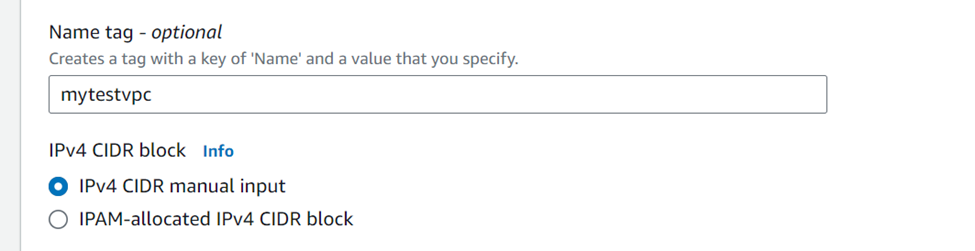
2)
Select the IPv4 CIDR manual input in the IPv4
CIDR block section.
If there is an Amazon VPC IP address Manager (IPAM) address
pool available in this region, you can get a CIDR from an IPAM pool. If you
select an IPAM pool, the size of CIDR is limited by the allocation rules on the
IPAM pool. The same will be applicable for IPv6 as well.
3)
Select a default zone, we can specific a different
Tenant as well.
4)
Create a tag for grouping purpose and click on
create VPC button.

We need to create a sub netmask according your requirement and mapped into VPC.

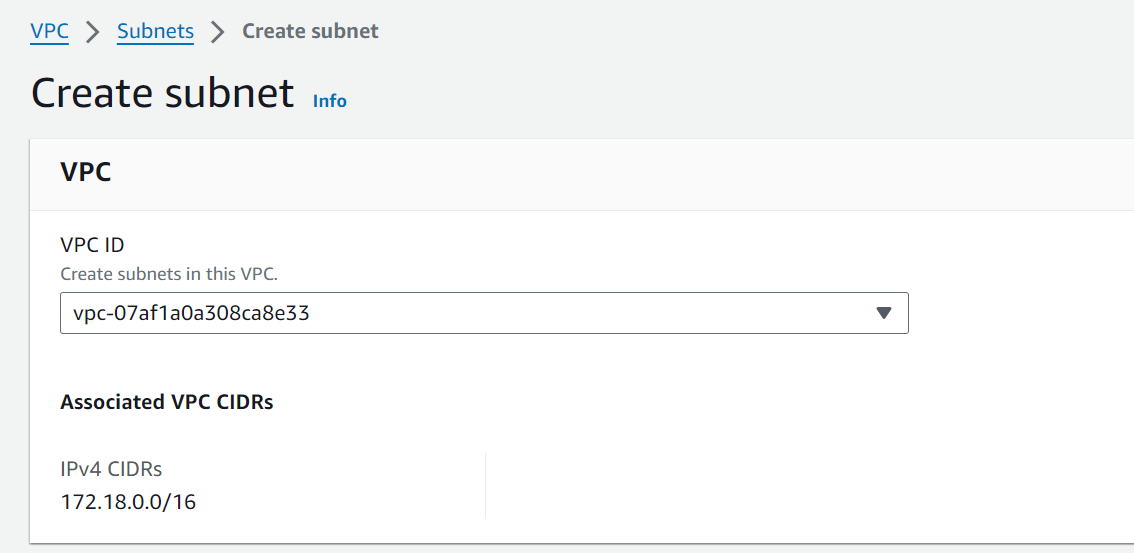
Define a subnet name and availability zone as per your requirement.


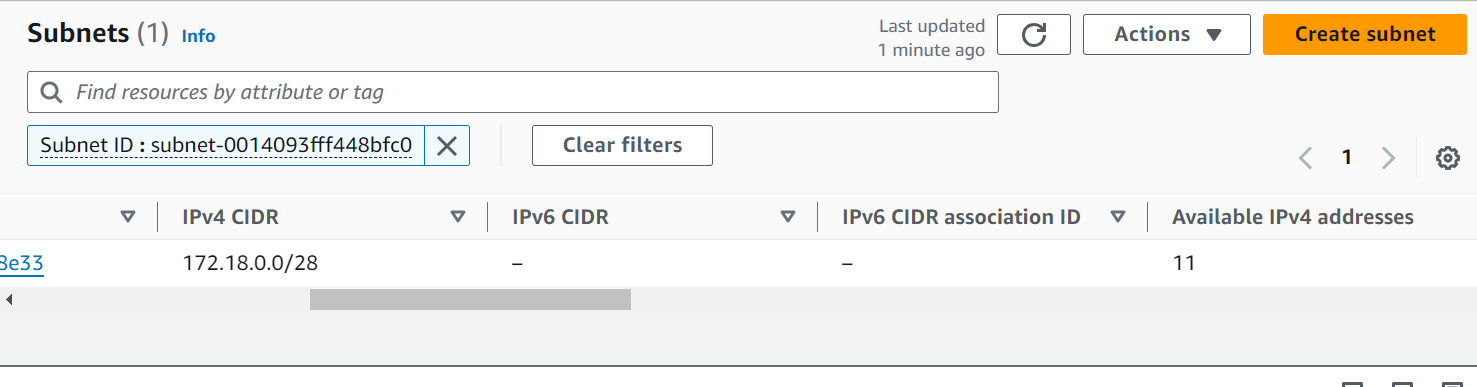
I can able to get 11 number of IP address as per my sub netmask and 5 IP address goes for reservation.
Creating an Internet Gateway:


No comments:
Post a Comment